 Business License

Finding the Real Process Window: How Top Printers Stop Guessing at UV Ink Curing
Why "It Looks Dry" Is Not a Curing Specification
Walk into any print shop and you will hear the same phrase: "the ink looks cured." Operators touch the surface, run a fingernail across the print, and make a production decision based on feel. It is fast, intuitive, and wrong more often than anyone admits. Surface dryness is not through-cure. The ink layer can feel rock solid while the bottom 30 percent of the film remains incompletely polymerized, waiting to peel, scratch, or delaminate once the customer applies friction, moisture, or heat.
The gap between "feels dry" and "fully cured" is where most curing-related warranty claims originate. Printers who have tightened their process have stopped relying on touch and started measuring. They define a real process window — a range of wavelength, dose, and substrate temperature that consistently produces a fully cross-linked ink layer — and verify it with instruments, not fingers.
This article walks through how to build that process window, what measurements actually matter, and where the typical printing line goes wrong. It is written for production managers and press operators who want to move from guesswork to repeatable curing quality.
The Three Measurements That Define Your Curing Window
A curing process window is not a single number. It is the combination of three measurements that must all fall within acceptable ranges at the same time. Get any one of them wrong, and the result is either under-cure, over-cure, or thermal damage.
The first measurement is spectral output. The lamp must emit a wavelength band that overlaps the photoinitiator absorption peak in your ink. Most UV flexo and offset inks are formulated for 365 nm, with secondary absorption around 385 nm. If your lamp outputs a mismatched band, even maximum power will not fully activate the chemistry. Verify this by comparing the ink supplier's photoinitiator absorption curve against the lamp supplier's measured spectral output graph from a calibrated radiometer. The peaks should align within 5 nm.
The second measurement is energy density at the substrate, in mJ/cm². This is the total UV dose the ink receives during a single pass. Thin ink layers below 5 micron typically need 150 to 300 mJ/cm². Medium layers and high-pigment colors need 400 to 800 mJ/cm². White and opaque inks, which scatter light heavily, may need 1,000 mJ/cm² or more. Measure this at actual production speed, with the radiometer on the substrate plane.
The third measurement is peak irradiance, in W/cm². This is the instantaneous intensity at the point of maximum output. Peak irradiance drives through-cure of thick layers; total dose drives surface finish. You need both. A lamp with high total dose but low peak irradiance cures the surface but leaves the bottom layer soft. A lamp with high peak irradiance but low total dose drives through-cure but leaves a tacky surface.
How to Run a Dose Ladder on Your Own Press
Once you have the instruments, the fastest way to define your process window is a dose ladder. It takes about an hour on press and eliminates months of trial and error. Here is the procedure I use on every conversion project.
First, print a test strip on your standard production substrate with your standard ink and anilox roll. Then run the web under the curing lamp at five energy settings: minimum, 25 percent, 50 percent, 75 percent, and maximum. Mark each section clearly. The easiest way to vary dose is to change conveyor speed while holding lamp power constant, because this is how the press actually runs in production.
Second, let the prints rest for 24 hours. Curing reactions continue after the lamp pass, and some defects show up only as the post-cure completes. Do not test immediately — that gives an optimistic result that does not match real-world shelf life.
Third, run three tests on each section. The cross-hatch adhesion test: cut a grid through the ink layer, apply tape, pull it off, and rate ink removal on a 0 to 5 scale. The solvent rub test: rub the surface with a cotton swab soaked in MEK or isopropyl alcohol and count double rubs before ink lifts. The scratch test: use a fingernail under consistent pressure and note whether the ink scratches or chips.
The lowest energy setting that passes all three tests is the bottom of your process window. The highest setting that does not cause thermal deformation, color shift, or brittleness is the top. Run production in the middle of that range, not at the edge.
Where Printers Lose Their Process Window Without Noticing
A process window is not a one-time calibration. It drifts over time, and most printers do not notice until defect rates climb. There are four common drift sources.
The first is lamp aging. Mercury lamps lose 30 to 40 percent of UV output in their first 1,000 hours. LED arrays decay more slowly — about 10 to 15 percent over 10,000 hours — but they still drift. Operators compensate by running slower, which quietly reduces throughput. The fix is simple: measure irradiance weekly and log the trend. When output drops 10 percent below baseline, schedule service or adjust line speed.
The second is optical contamination. Ink mist, paper dust, and condensate build up on lamp windows and reflectors. Even a thin film absorbs 15 to 30 percent of UV output, and the absorption is not uniform — worst in the center, creating a donut pattern where the middle under-cures and edges over-cure. Add window cleaning to your weekly preventive maintenance and re-measure after cleaning.
The third is substrate temperature. Mercury lamps raise web temperature by 25 to 45°C during a pass. Thin films and thermal-coated stocks can deform, shrink, or change dimensions, affecting registration and lamination. A UV LED curing lamp raises substrate temperature by only 2 to 8°C because it outputs virtually no infrared radiation. If you run heat-sensitive stocks, this thermal difference is the line between a stable process and a drifting one.
The fourth is ink lot variation. Different batches from the same supplier can have slightly different photoinitiator concentrations. A process window calibrated on one batch may shift 10 to 20 percent on the next. Build a 20 percent safety margin into your dose setting so normal batch variation does not push you outside the cure envelope.
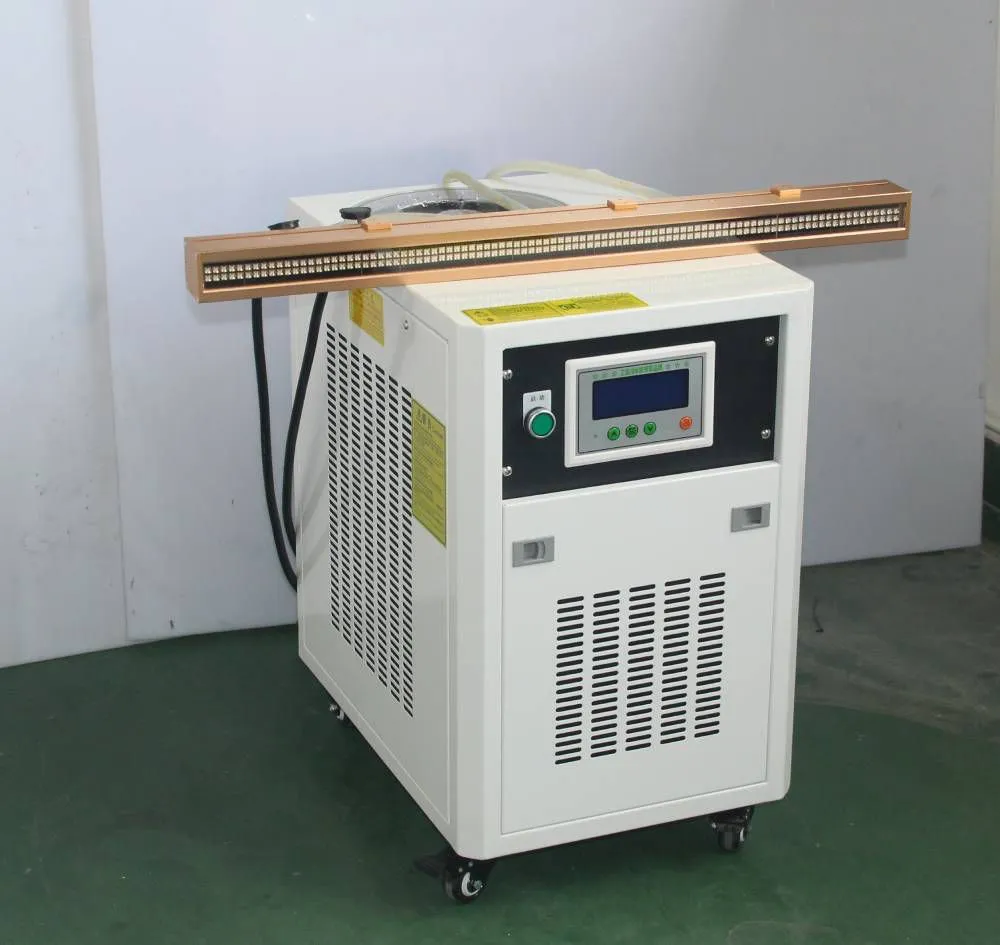
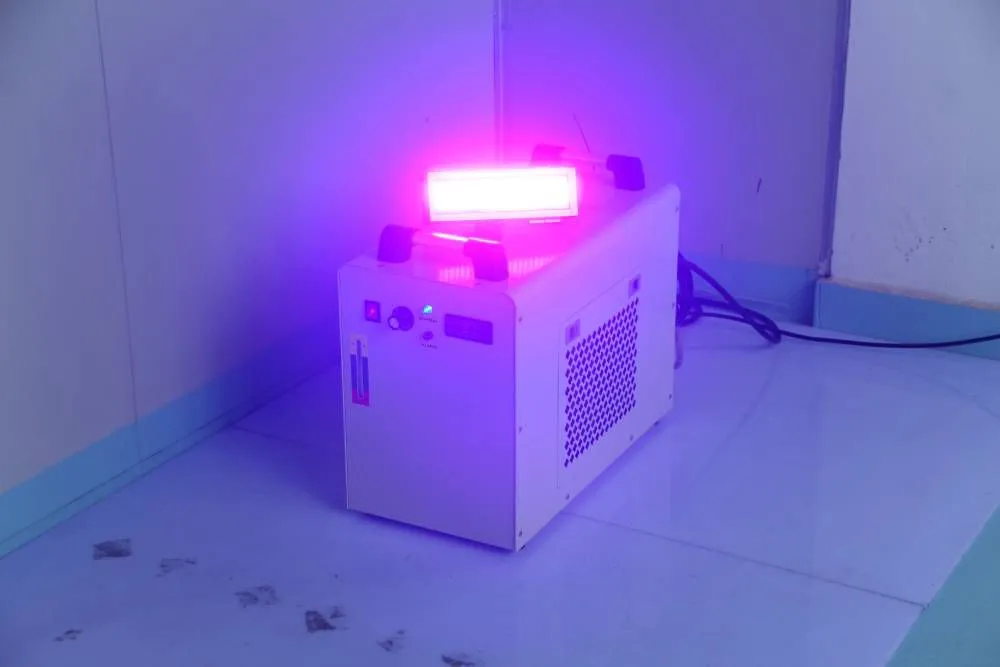
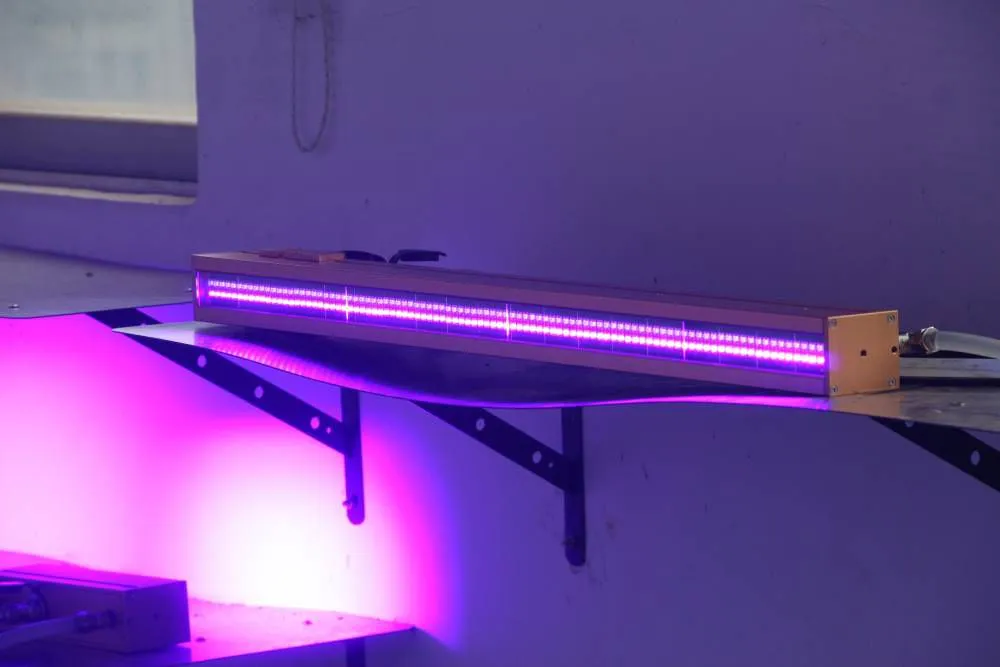
What a Well-Specified UV LED curing lamp Brings to the Process
When printers ask me what to look for in a curing system, I do not talk about wattage or brand. I talk about stability. The best curing lamp delivers the same spectral output, irradiance, and uniformity on day one and day ten thousand.
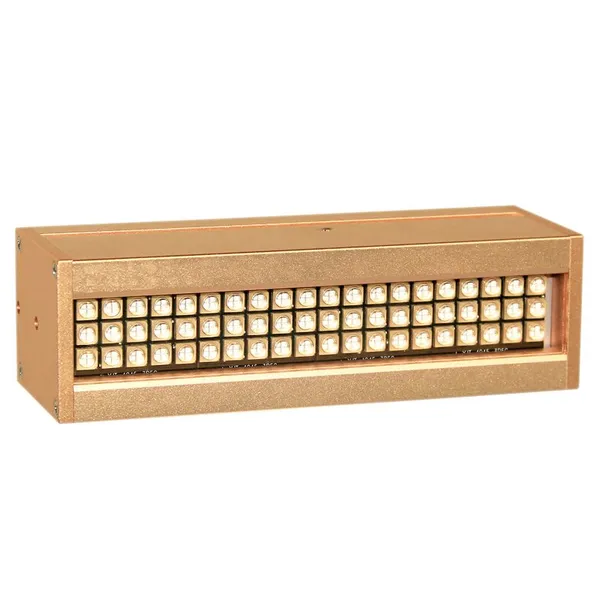
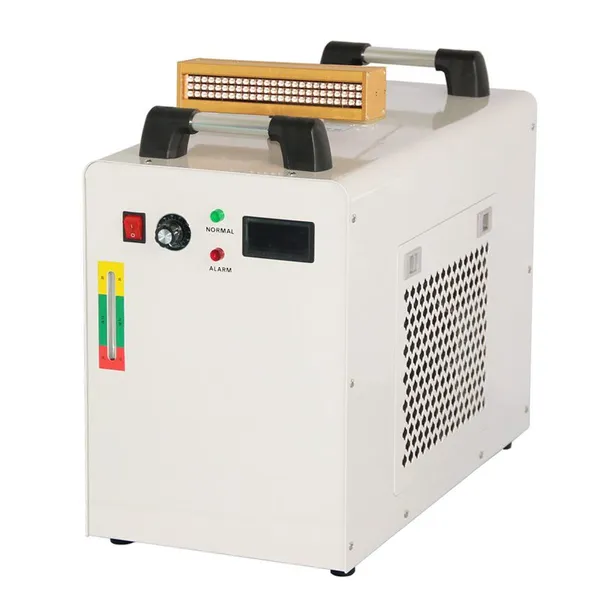
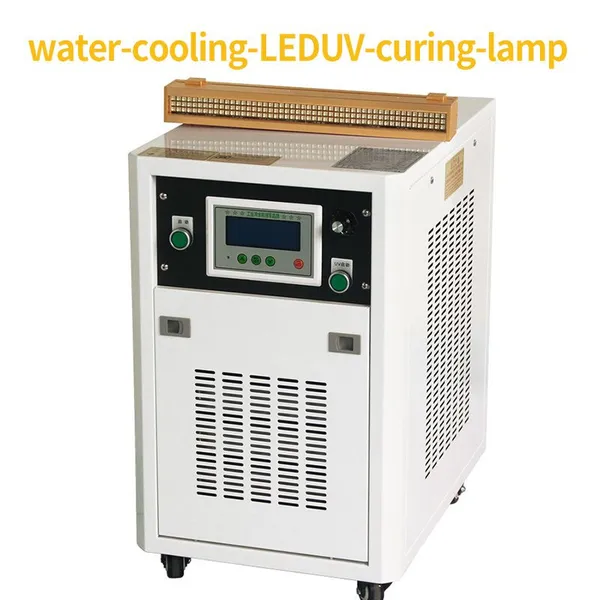
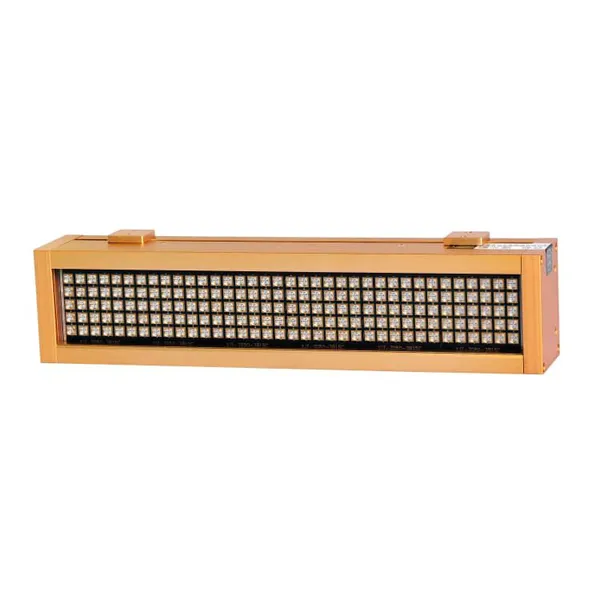
A modern UV LED curing lamp, properly engineered, delivers that stability. The narrow spectral band stays consistent for the life of the diode. Irradiance uniformity across a well-designed optical system is typically within ±10 percent. Instant-on, instant-off control means you only deliver UV energy when a part is passing under the lamp, which both saves electricity and prevents unnecessary thermal exposure.
The customization angle matters for production lines. Most OEM lamps are one-size-fits-all, but your press geometry, web width, and mounting interface are specific to your shop. A supplier that can match curing width, wavelength, irradiance profile, and mechanical mounting to your actual line removes the compromises that force printers to run at the edge of their process window instead of the center.
Building a Curing Quality Routine That Sticks
Once you have defined the process window and installed equipment that holds it, the last step is building a routine that keeps it there. This is not complicated, but it requires discipline.
At the start of each shift, one operator runs a quick dose check with a radiometer at the production speed. The reading goes on a log sheet or into a simple spreadsheet. If the number is within 10 percent of baseline, production starts. If it is outside, the team adjusts lamp power or line speed to bring it back, or flags the lamp for inspection.
Once per week, the lamp windows are cleaned and a full dose ladder is run on a sample substrate. The results are compared to the baseline from commissioning. If the process window has shifted, the team investigates why — lamp aging, optical contamination, ink batch, or substrate variation.
Once per quarter, the radiometer is recalibrated against a reference unit. Radiometers drift too, and a drift of 10 percent in the instrument means your whole process control is off by 10 percent without you knowing.
That is it. Three simple habits: daily dose check, weekly clean and ladder, quarterly recalibration. Printers who implement this routine typically see curing-related defects drop by 50 to 70 percent within the first quarter, and they stay down because the process is controlled, not hoped for.
The Bottom Line for Print Operations
Curing quality is not a matter of buying the brightest lamp or the most expensive ink. It is a matter of measurement, process control, and stable equipment. The printers who run the most consistent quality are not the ones with the most advanced technology — they are the ones who measure what the light actually delivers, define a real process window, and hold that window with disciplined routines.
If your shop is still making curing decisions based on touch and intuition, the fastest upgrade is not a new lamp. It is a calibrated radiometer, a day spent running a dose ladder, and a log sheet that tracks irradiance over time. Once you have that baseline, you will know exactly what your curing equipment is actually doing — and you will be able to tell whether a new UV LED curing lamp is a genuine upgrade or just a more expensive version of what you already have.
Recently Posted
-
UV Adhesive Curing in Automotive Assembly: A Structural Engineer's Guide to Bonds That Survive 15 Years on the Road
November 5, 2026Why Automotive Adhesive Bonds Fail in Places Nobody InspectsAutomotive assembly has quietly become an adhesive industry. A modern Read More
-
UV Adhesive Curing Failures: A Process Engineer's Field Guide to Joint Strength, Shadow Zones, and Depth Cure
October 22, 2026Why UV Adhesive Projects Fail in Production — Not in the LabEvery process engineer who has specified a UV-curable adhesive has liv Read More
-
The Complete Buyer's Guide to LED UV Curing: What Every Production Manager Should Know Before Upgrading
October 15, 2026Why This Guide Matters Before You Spend a Dollar on Curing EquipmentIf you have ever stood on a production floor watching ink dry Read More
-
CT10 LED UV Curing Lamp: Redefining Precision Industrial Curing Standards
October 8, 2026Introduction to CT10 LED UV Curing Core PositioningIn modern precision industrial manufacturing, stable, low-temperature and high- Read More

Contact Us
Recommended Products
-
 CT UV LED Conveyor Curing Tunnel | Water Cooled UV Curing OvenNegotiableMOQ: 1 Combo
-
CT2 LED UV Curing Light, Industrial UV LED Dryer for Ink, Varnish & Glue CuringNegotiableMOQ: 1 Combo
-
Youjiete CT4 Industrial UV LED Curing System, UV Curing Lamp for Printing & Electronic Bonding,365nm/395nmNegotiableMOQ: 1 Combo
-
Youjiete CT5 UV LED Curing Equipment, Water Cooling UV LED Light Source for Industrial UV Adhesive and Printing Ink CuringNegotiableMOQ: 1 Combo
-
Youjiete CT10 LED Curing Machine, Industrial UV Light Source for UV Ink, Adhesive & Coating Fast CuringUS$ 5000 - 10000MOQ: 1 Combo
-
Youjiete Large‑Area UV LED Surface Light Source Curing Machine, 365nm 395nm Customizable for Industrial UV Glue, Ink & Coating CuringNegotiableMOQ: 1 Combo
-
Youjiete Industrial LED UV Curing Tunnel Furnace, Belt Conveyor UV Dryer for Offset Printing, 365nm 395nm CustomizableNegotiableMOQ: 1 Combo
-
Youjiete Desktop UV LED Curing Tunnel Furnace, Conveyor Type LED UV Curing Machine for UV Adhesive, Ink, Coating DryingNegotiableMOQ: 1 Combo
-
Youjiete Industrial Long Water‑Cooled LED UV Curing Lamp Head, UV Ink Curing LightNegotiableMOQ: 1 Combo
-
Youjiete LED UV Curing Lamp, Water‑Cooled UV LED Curing System For UV Ink, Varnish & Adhesive CuringNegotiableMOQ: 1 Combo
-
YJT‑CT4 Water‑cooled LED UV Curing Lamp 395nm Custom Size Industrial UV Ink Glue Curing LightUS$ 1520MOQ: 1 Combo
-
Power 1500w Led uv Curing LightNegotiableMOQ: 1 Combo
-
Green and Environmentally Friendly LED UV Curing MachinesUS$ 990 - 2000MOQ: 1 Combo
-
Advantages of Single Wavelength in LED UV Curing LampsUS$ 10000MOQ: 1 Combo
-
Is LED UV Harmful to Human Health?US$ 10000MOQ: 1 Combo
-
Advantages of Single Wavelength in LED UV Curing LampsUS$ 10000MOQ: 1 Combo
-
LED UV Curing LampUS$ 1980MOQ: 1 Combo
-
Green and Environmentally Friendly LED UV Curing MachinesUS$ 990 - 2000MOQ: 1 Combo
-
Green and Environmentally Friendly LED UV Curing MachinesUS$ 980MOQ: 1 Set
-
LED UV Curing LampUS$ 920 - 2000MOQ: 1 Set